Comprehensive Guide to Installing Zoo Mesh: Simplified Support for Your Project
Installing zoo mesh can seem like a daunting task, but with the right instructions and support, it can be straightforward and rewarding. If you aim to build safe and long-lasting animal enclosures or enhance the appeal of zoo spaces, this guide will walk you through the process of installing zoo mesh from start to finish, guaranteeing a successful installation.
Before You Begin: Preparation Is Key
- Size Matching: The first step of Installing zoo mesh is to ensure that the mesh size matches the frame size you’re working with. Accurate measurements are crucial for a snug fit and a professional finish.
Installing zoo mesh Steps: Easy to Follow
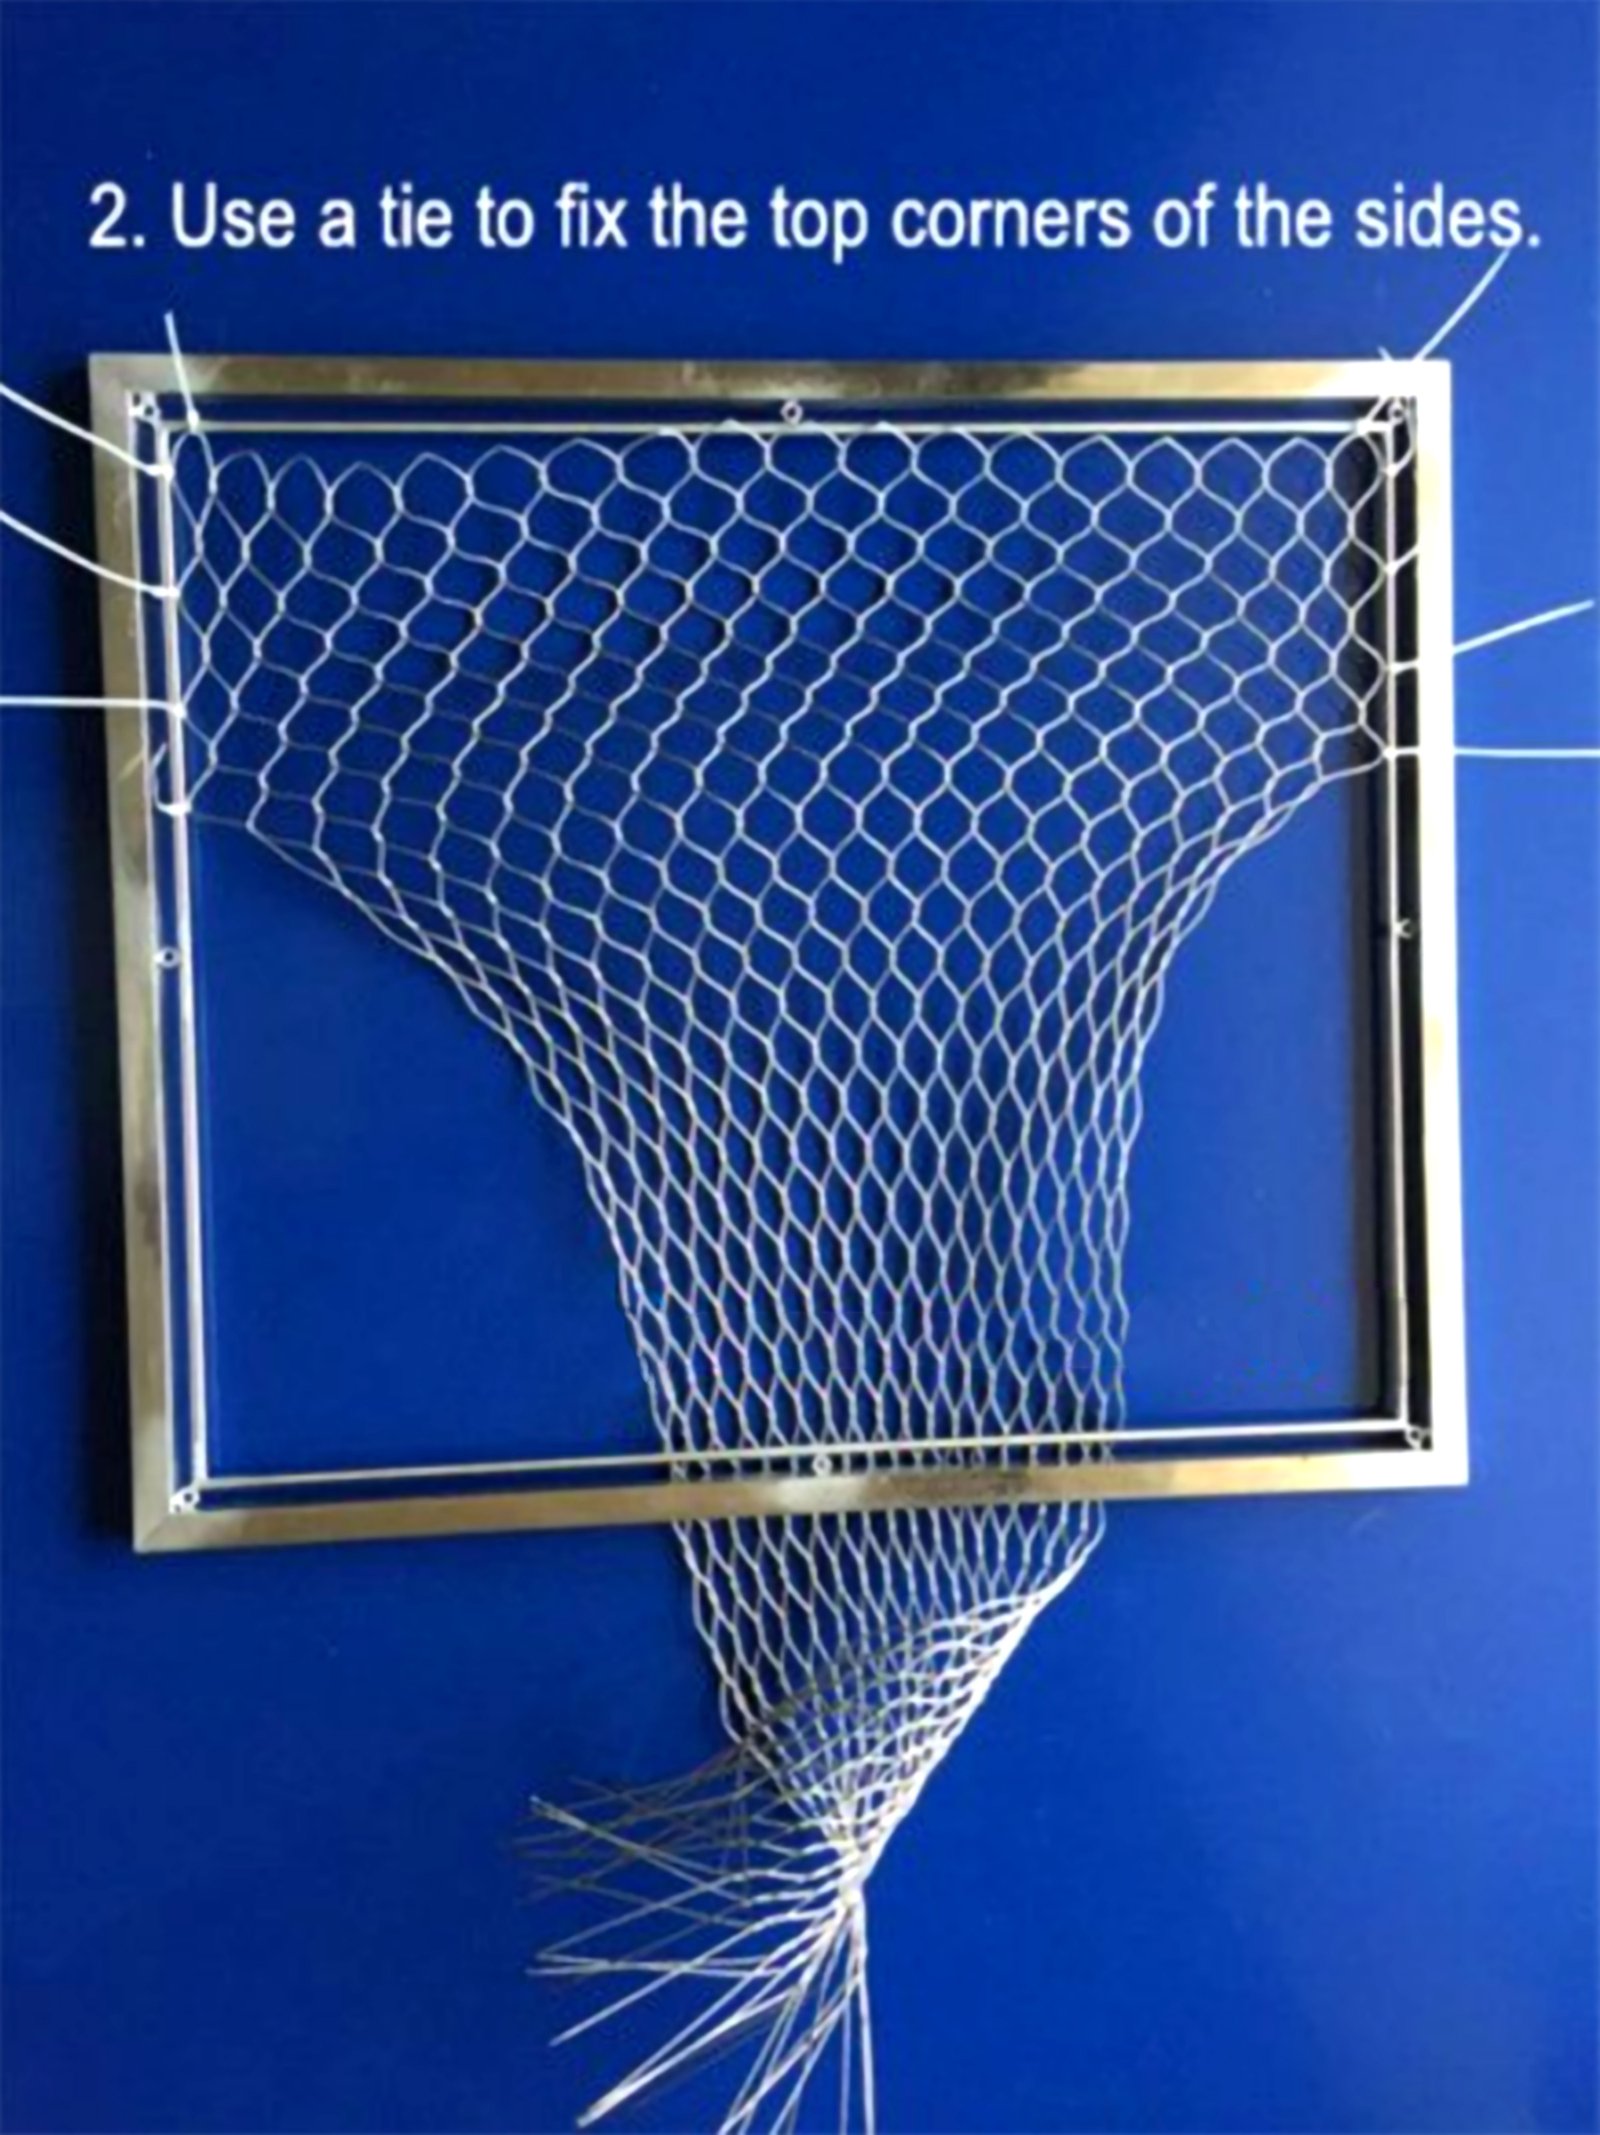
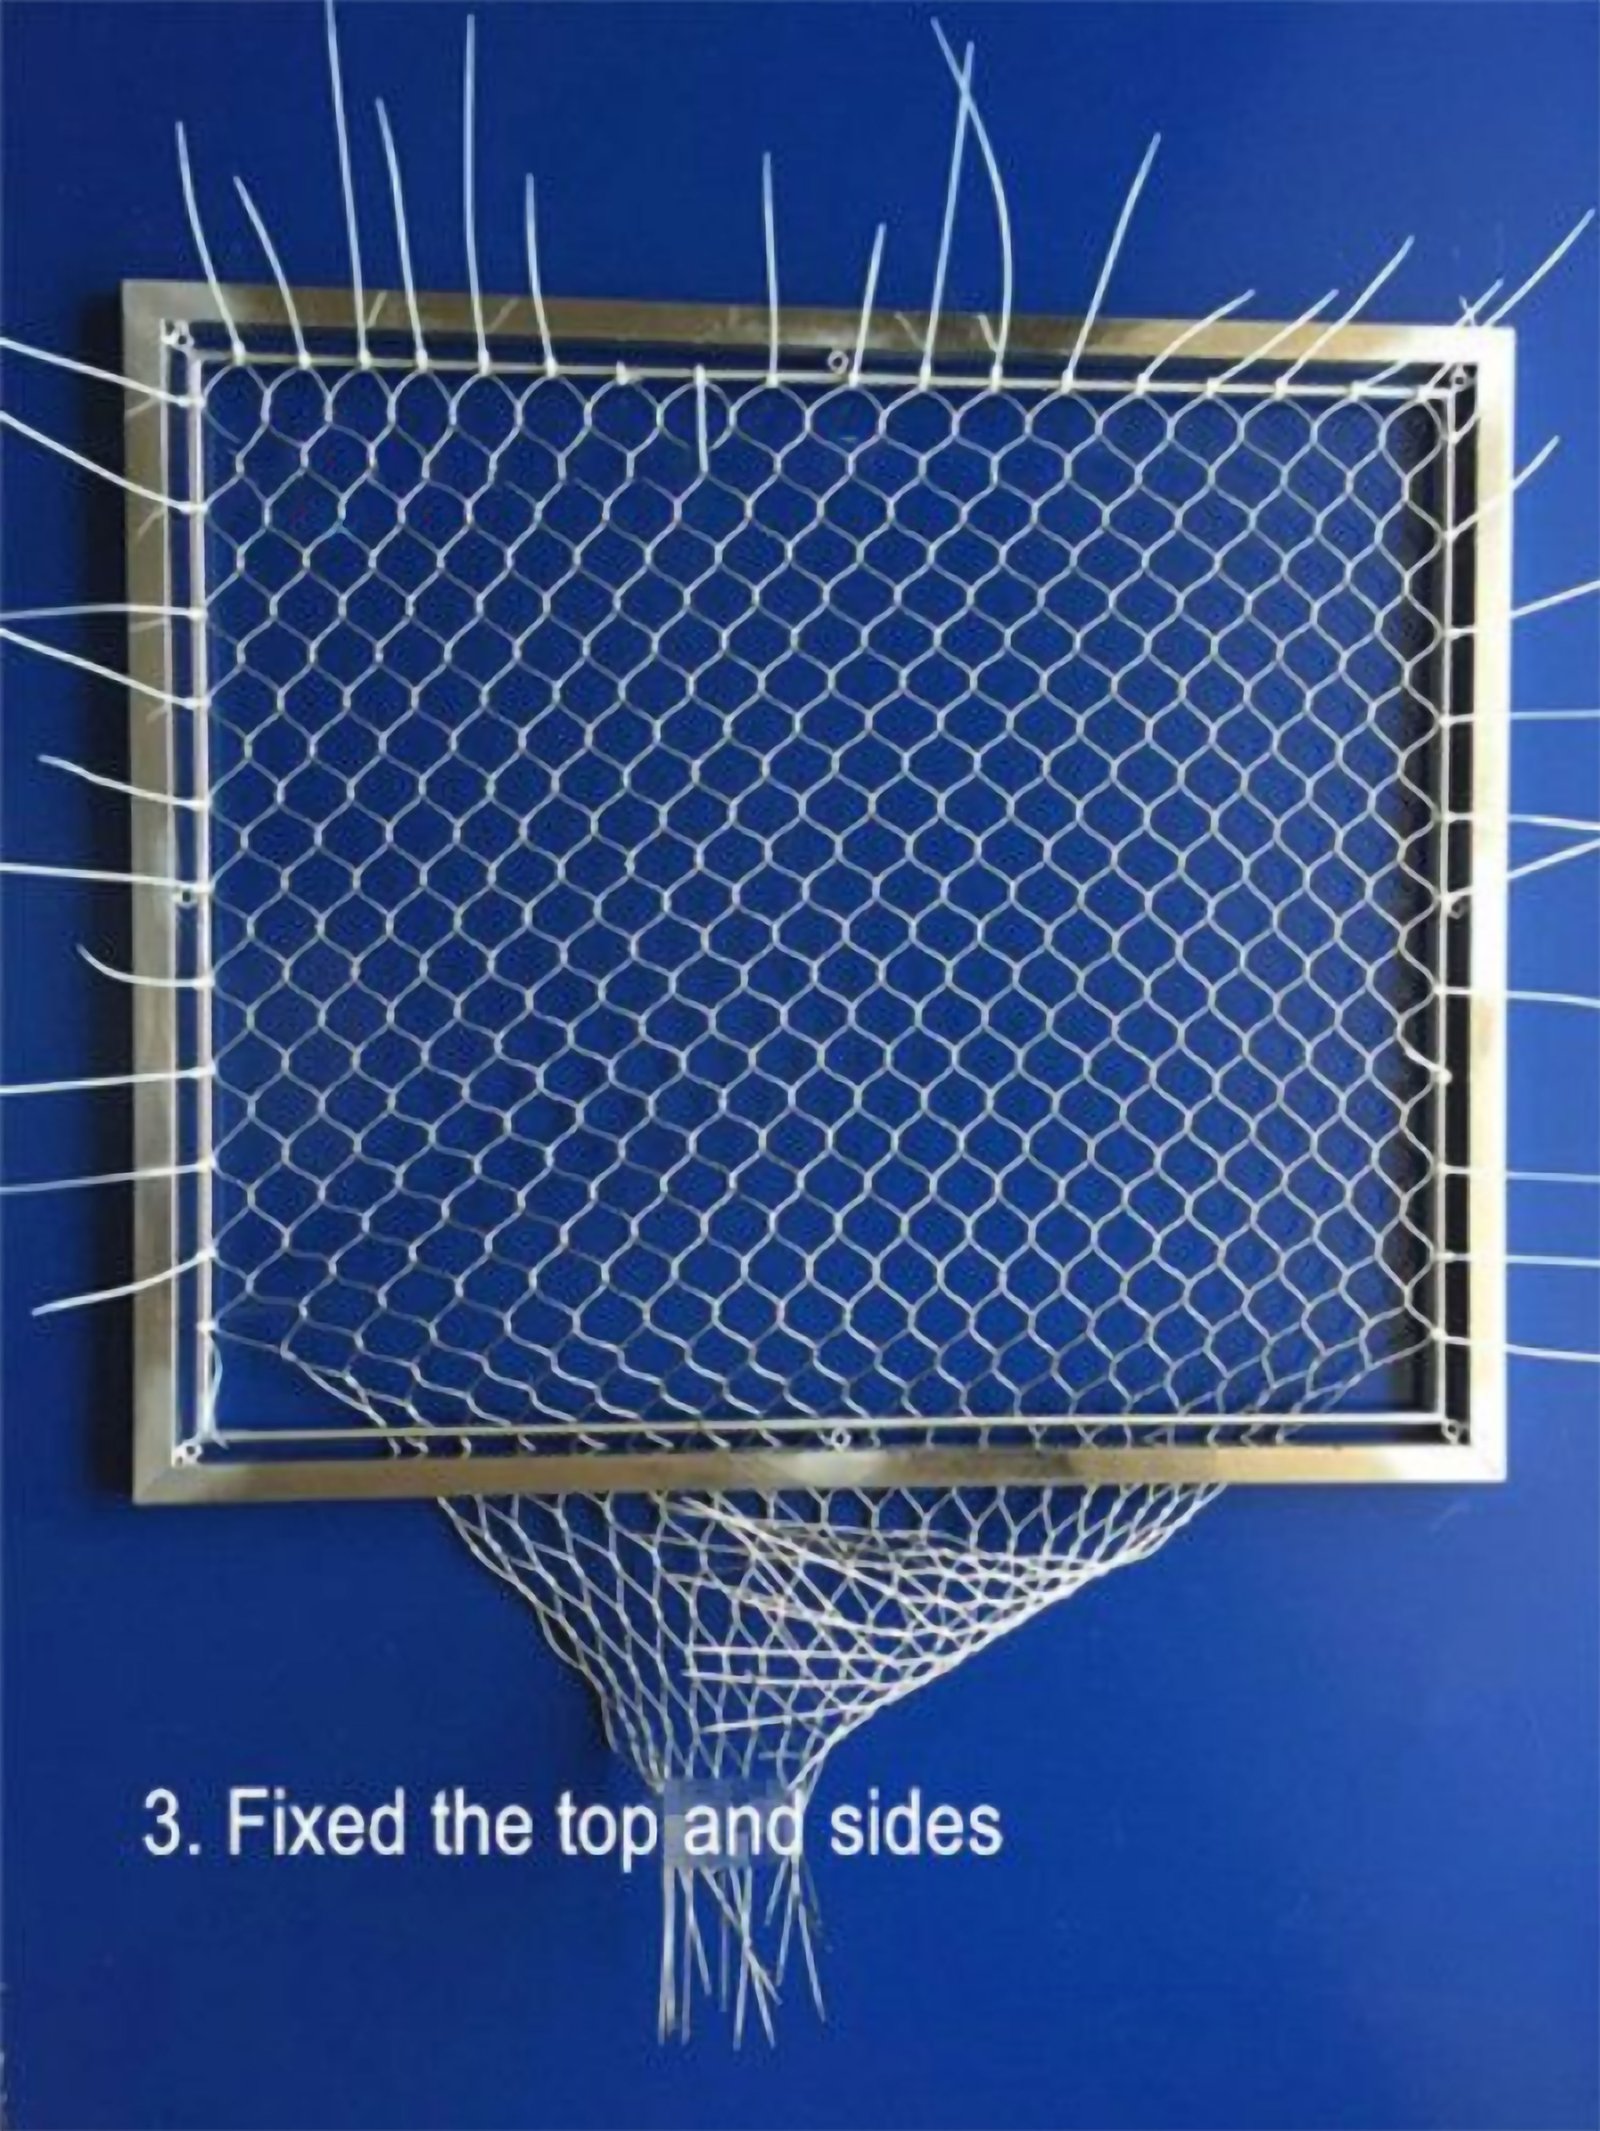
Start by stretching the mesh out, possibly with help from someone else to make sure it’s even and taut. After stretching it, secure each corner of the mesh to the frame with cable ties, beginning at the top and working your way down. It’s crucial to secure both sides at the same time to keep the tension even and the mesh holes properly shaped.
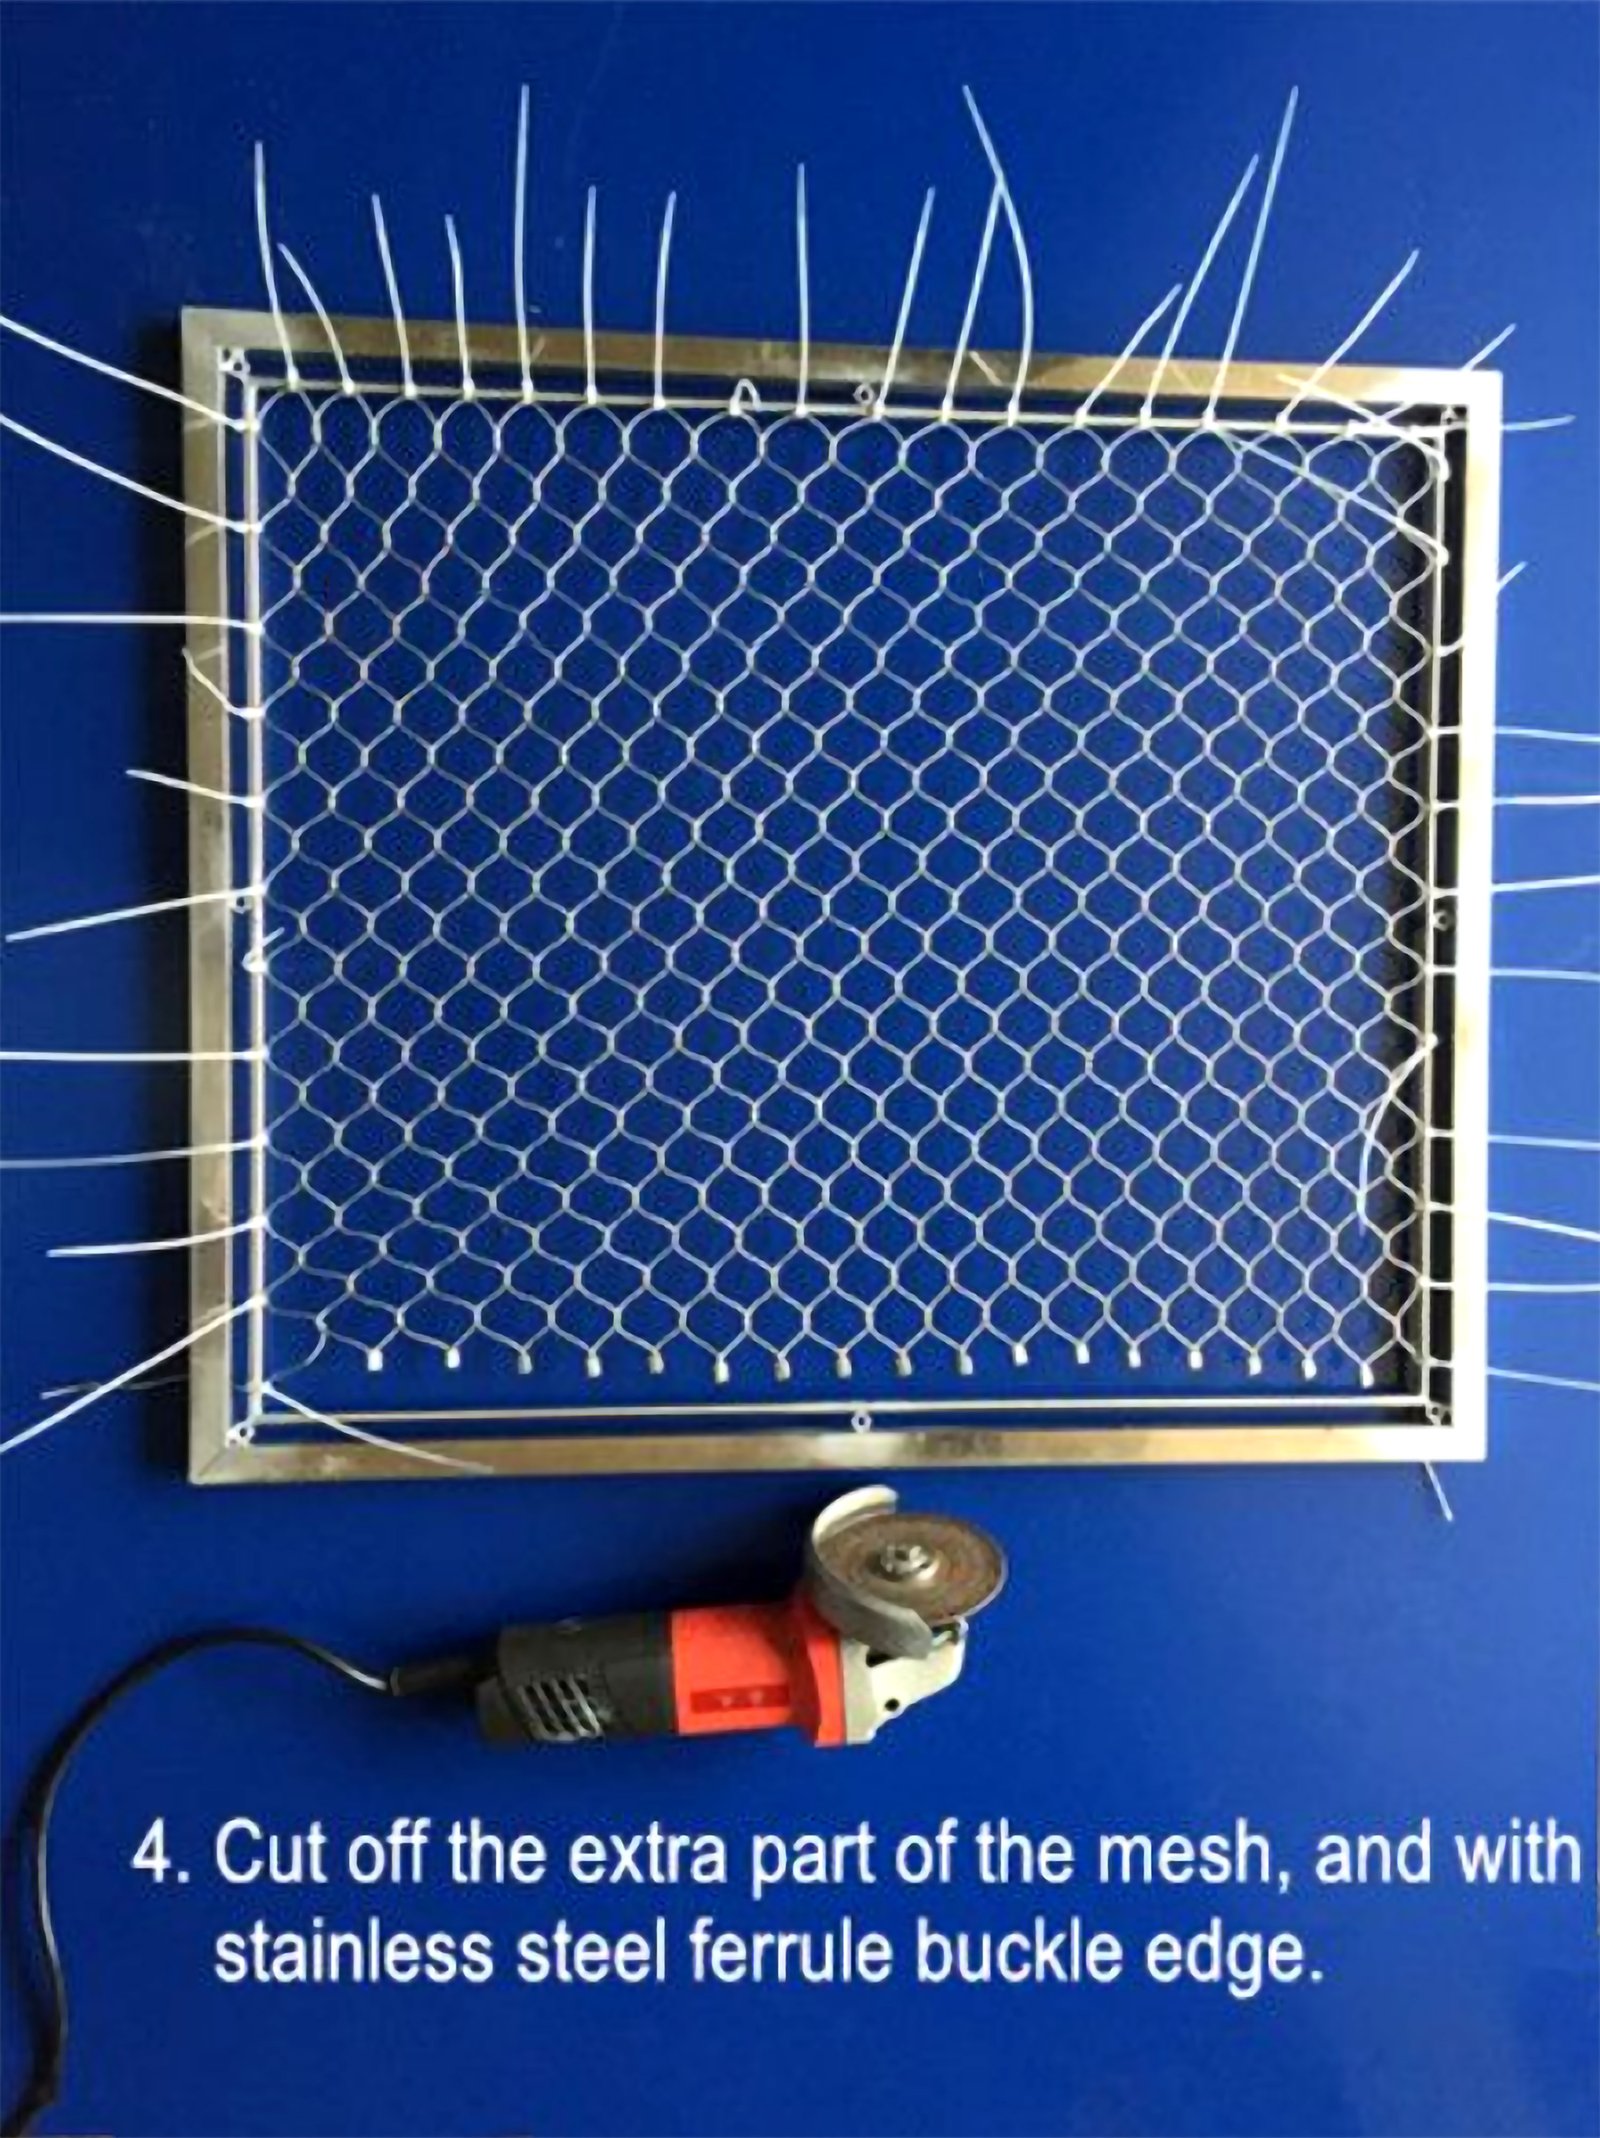
Once the mesh is in position, trim the excess at the bottom using a wire clamp for a clean cut. پھر،, use stainless steel clips to secure the mesh edges. Use a grinding machine to smooth out any sharp or uneven areas. Make sure the mesh is firmly attached to the frame once you’re happy with how it looks.
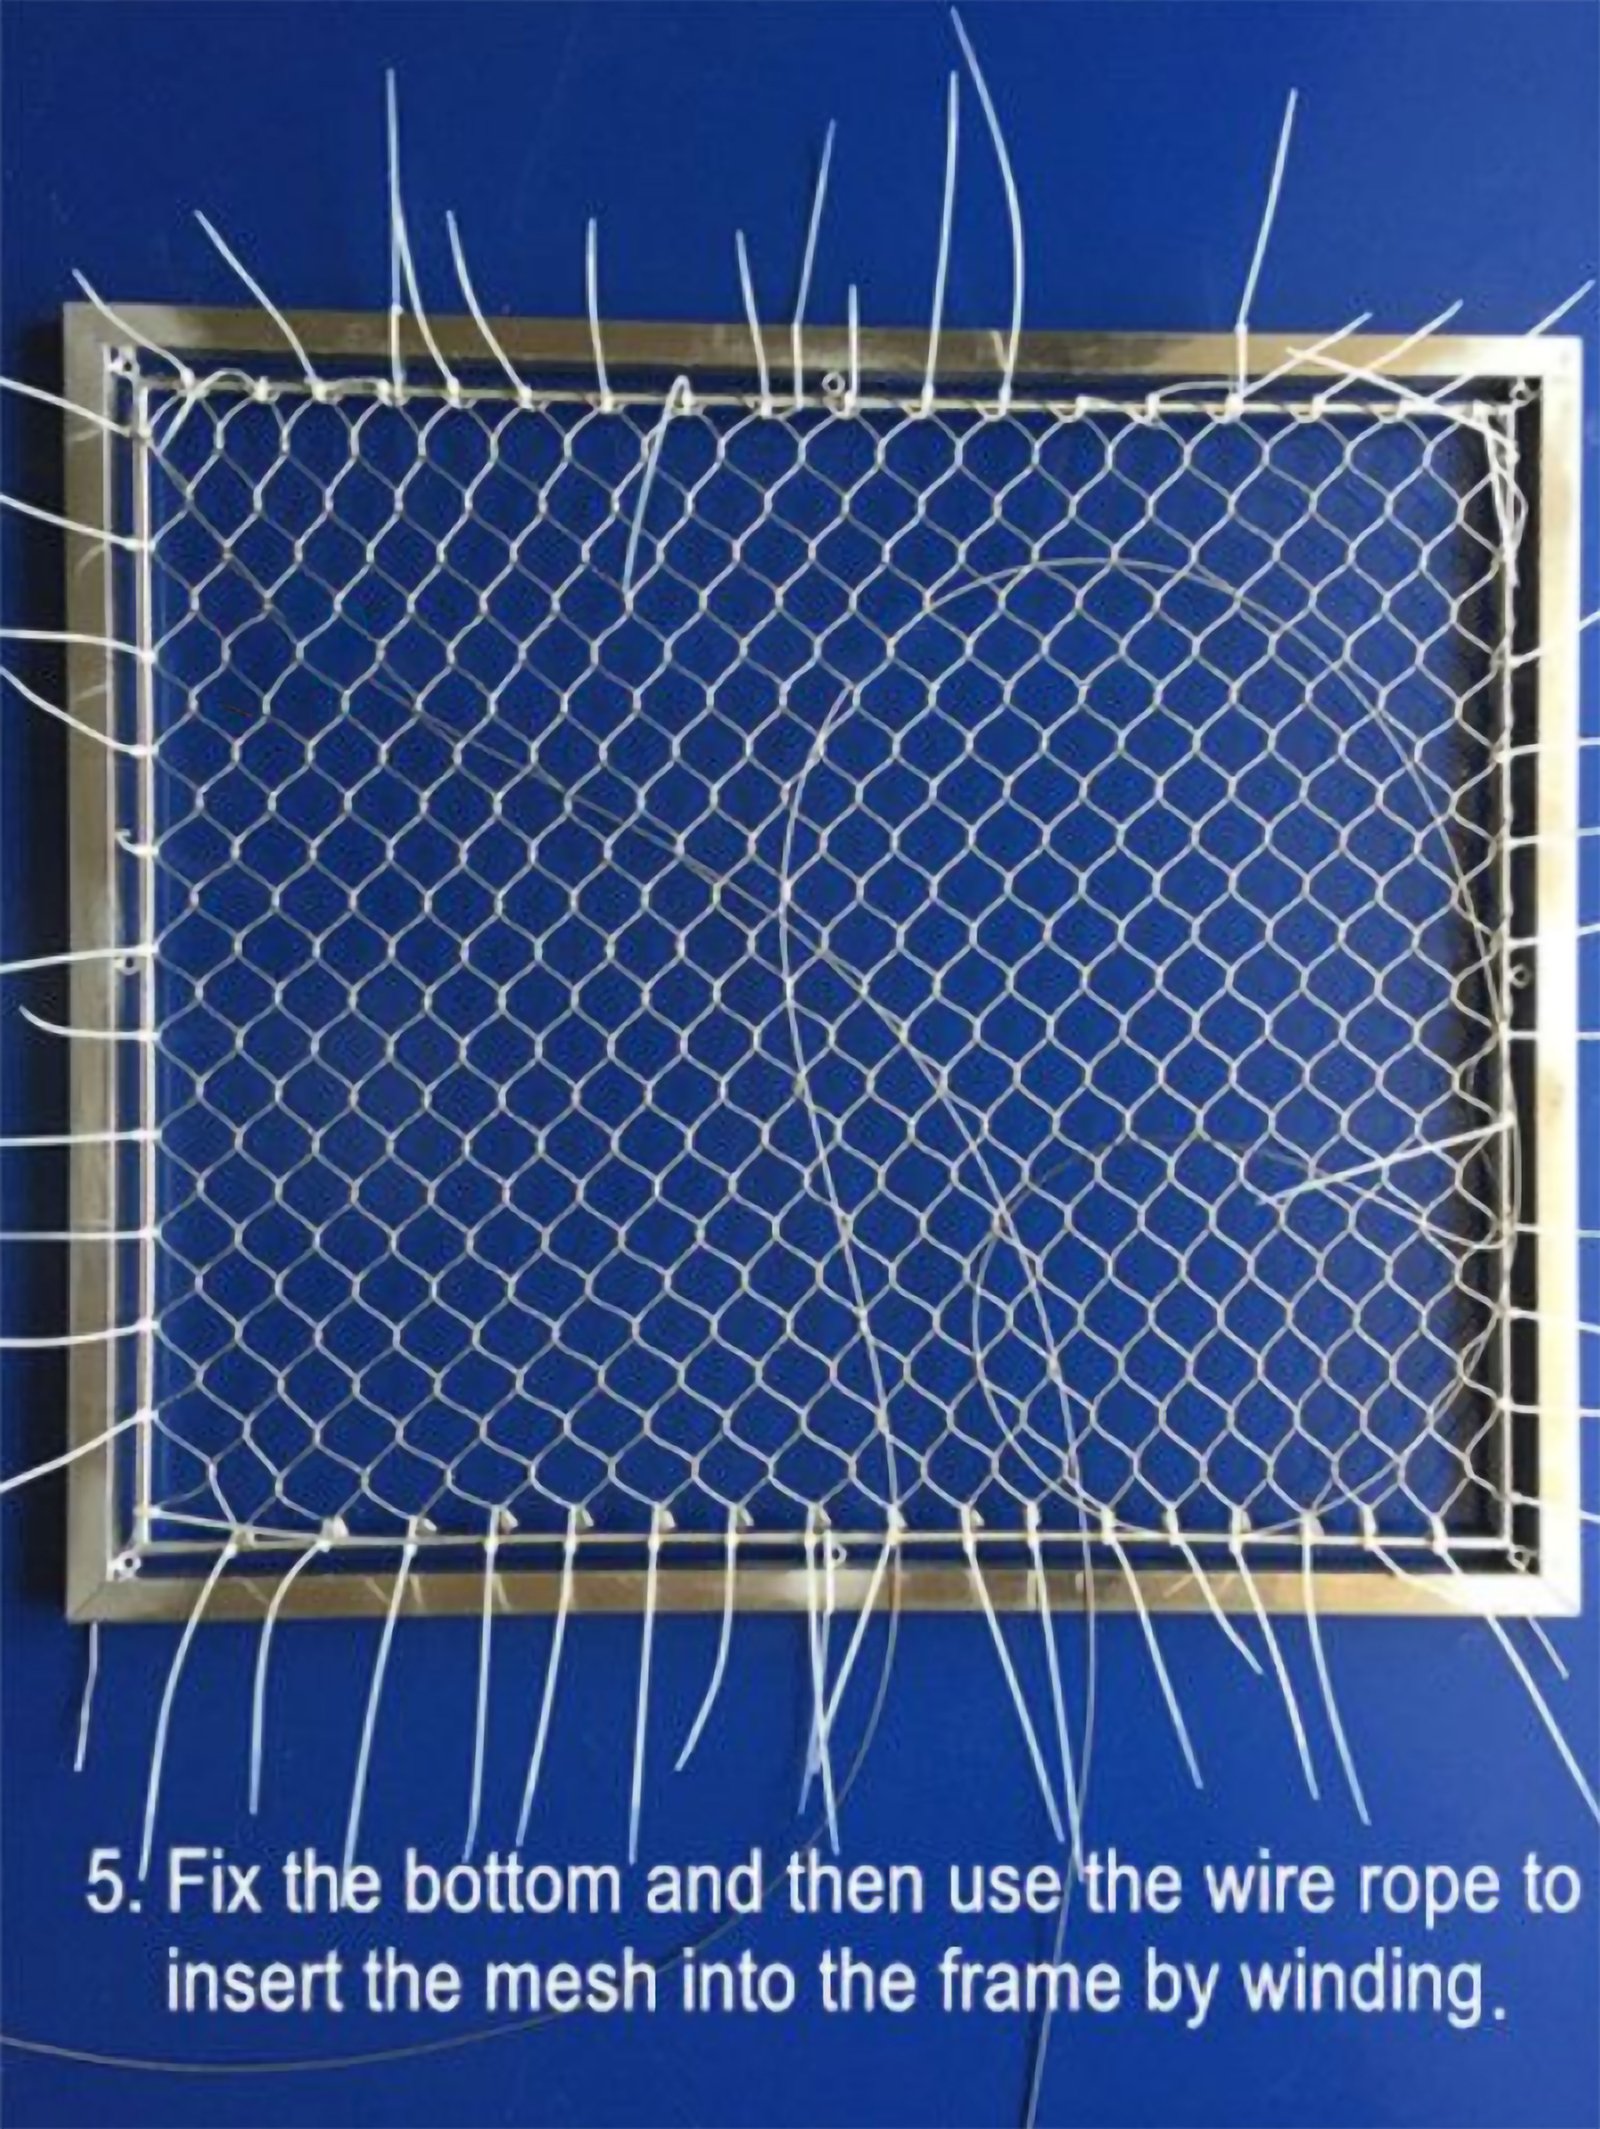
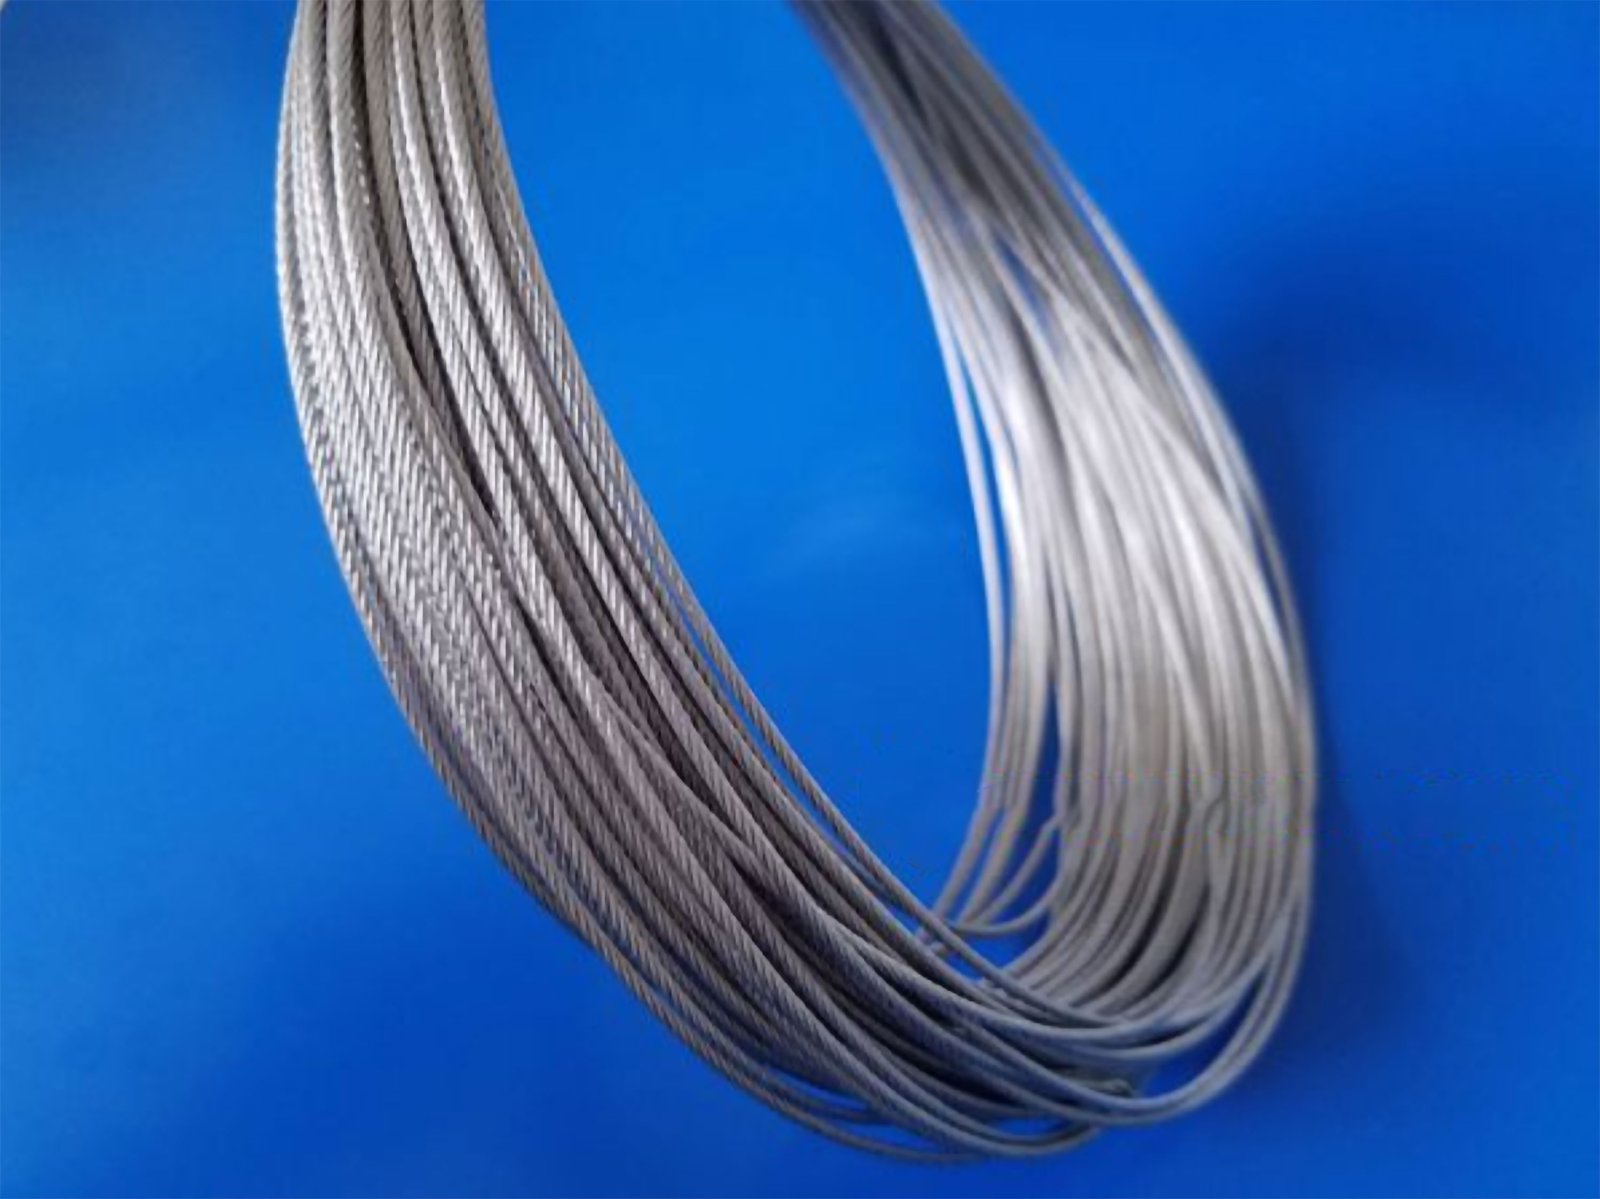
For extra security and durability, reinforce the connection between the mesh and the frame with a wire rope that has a larger diameter than the mesh wire. This step is essential for the enclosure’s longevity and stability.
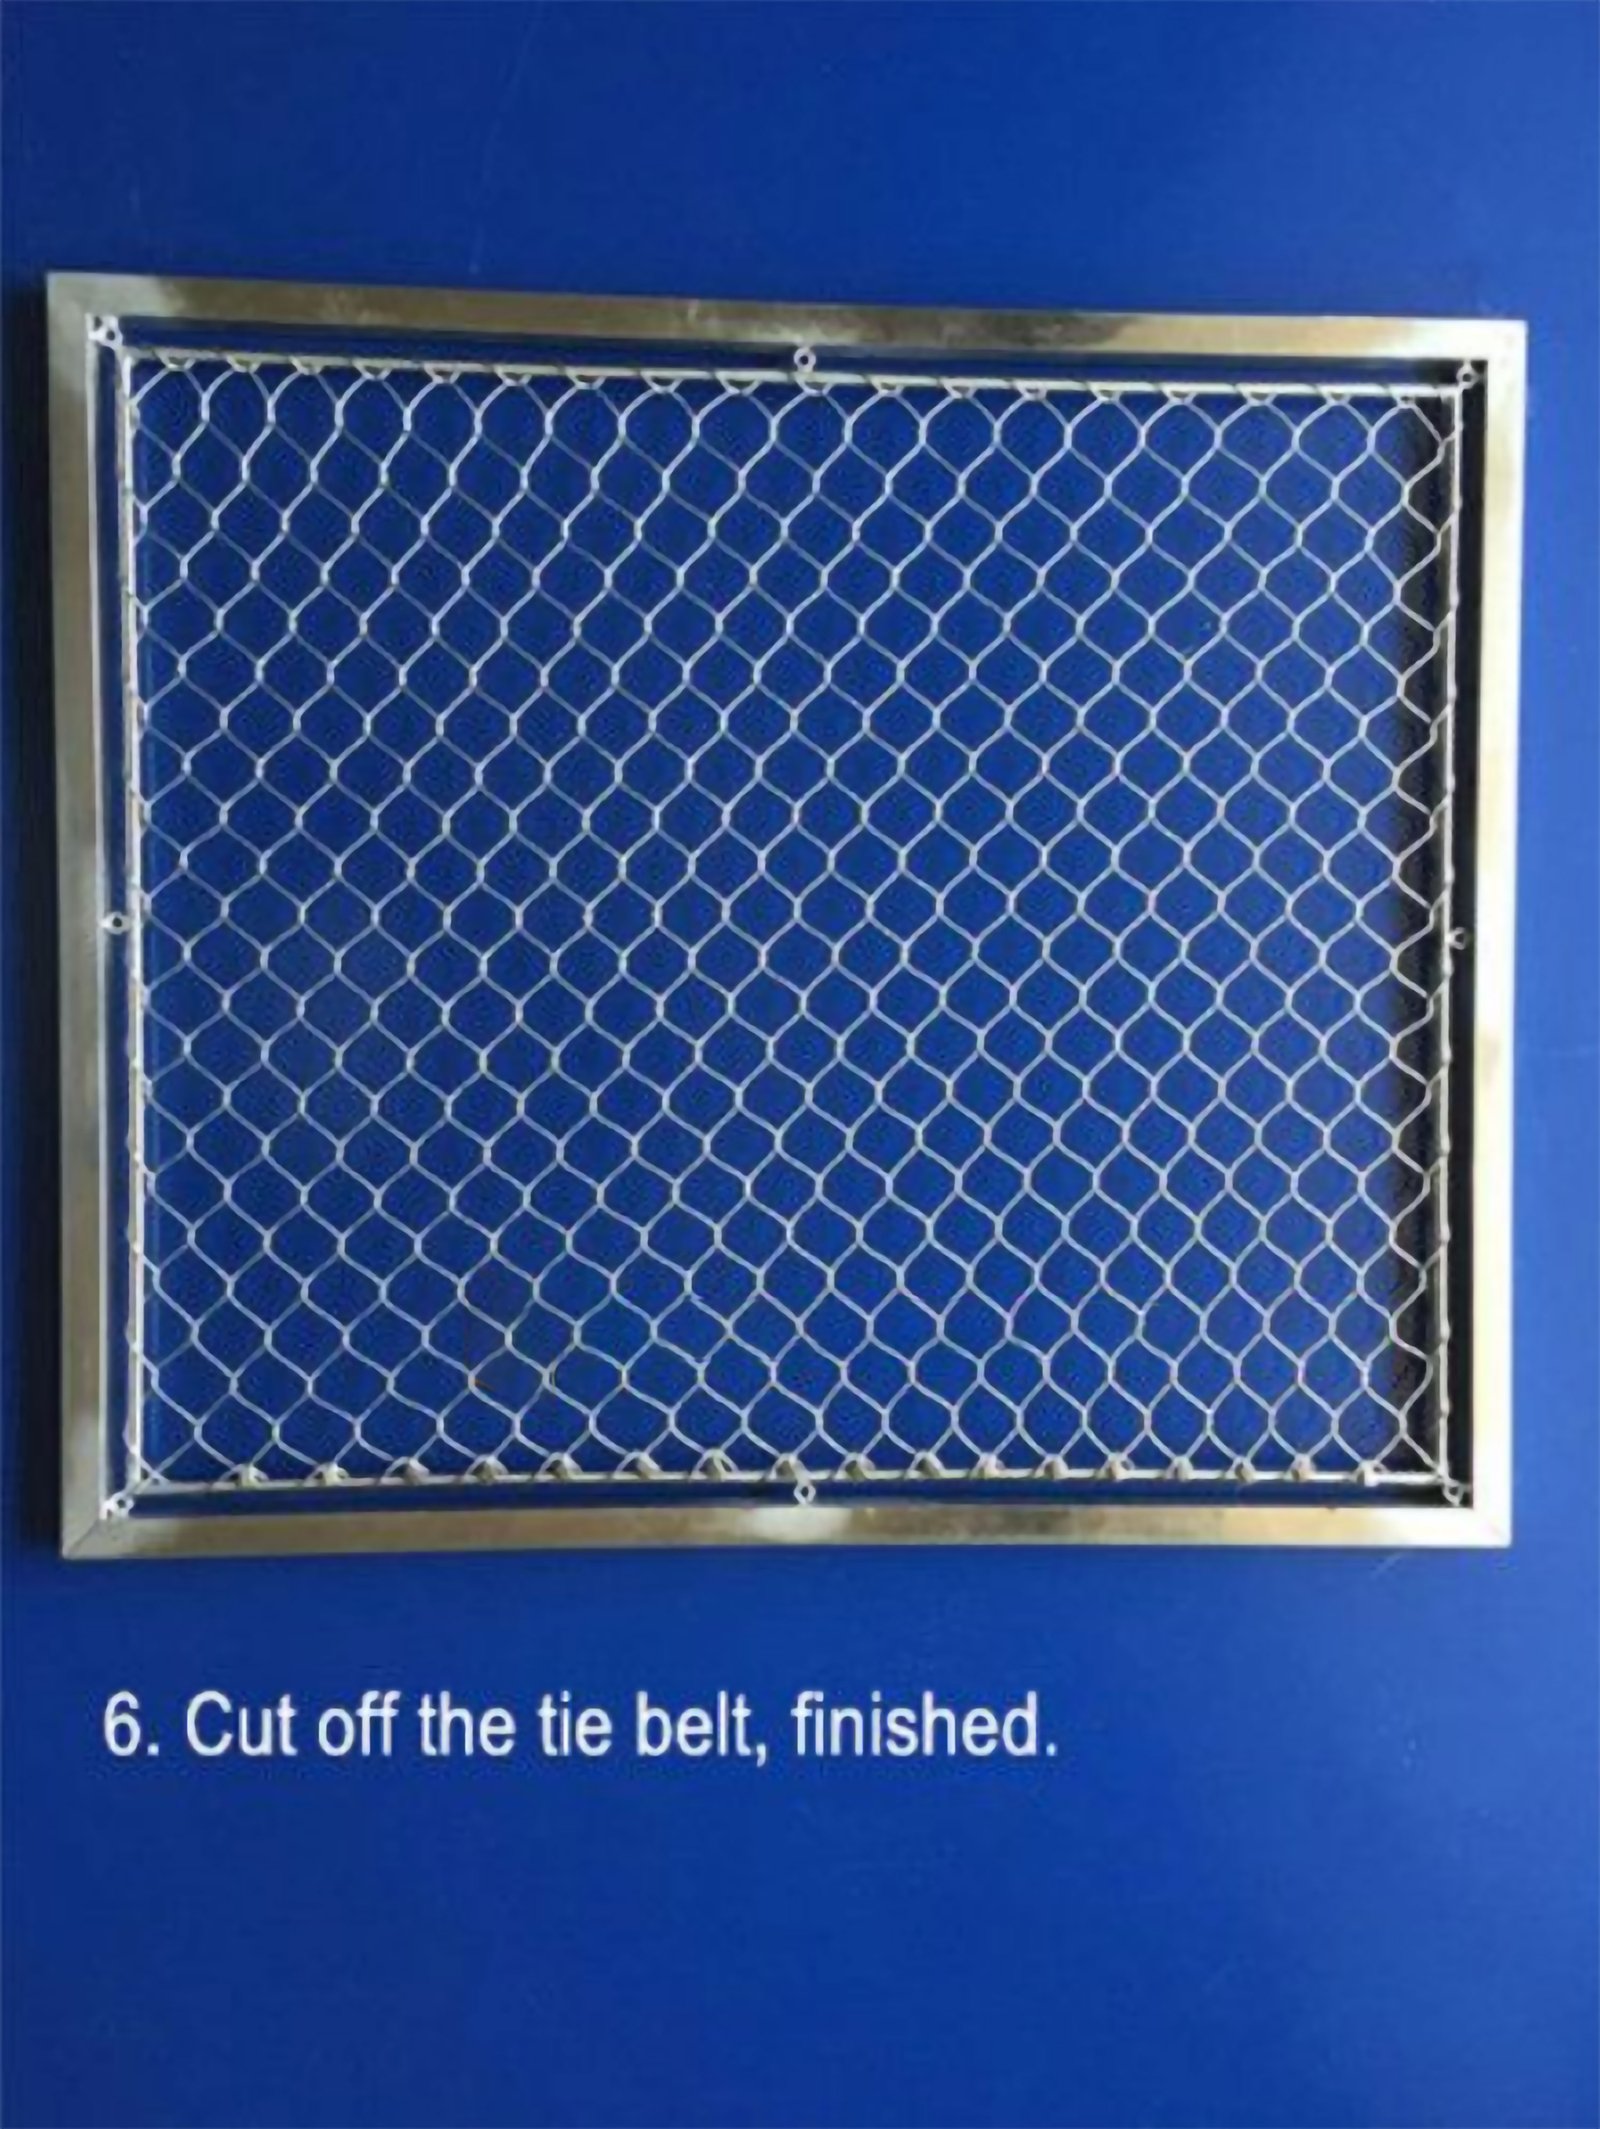
The last step of Installing zoo mesh involves removing the cable ties you used for initial placement, which cleans up the installation, leaving only the permanent fixtures in place.
Tools and Accessories You’ll Need
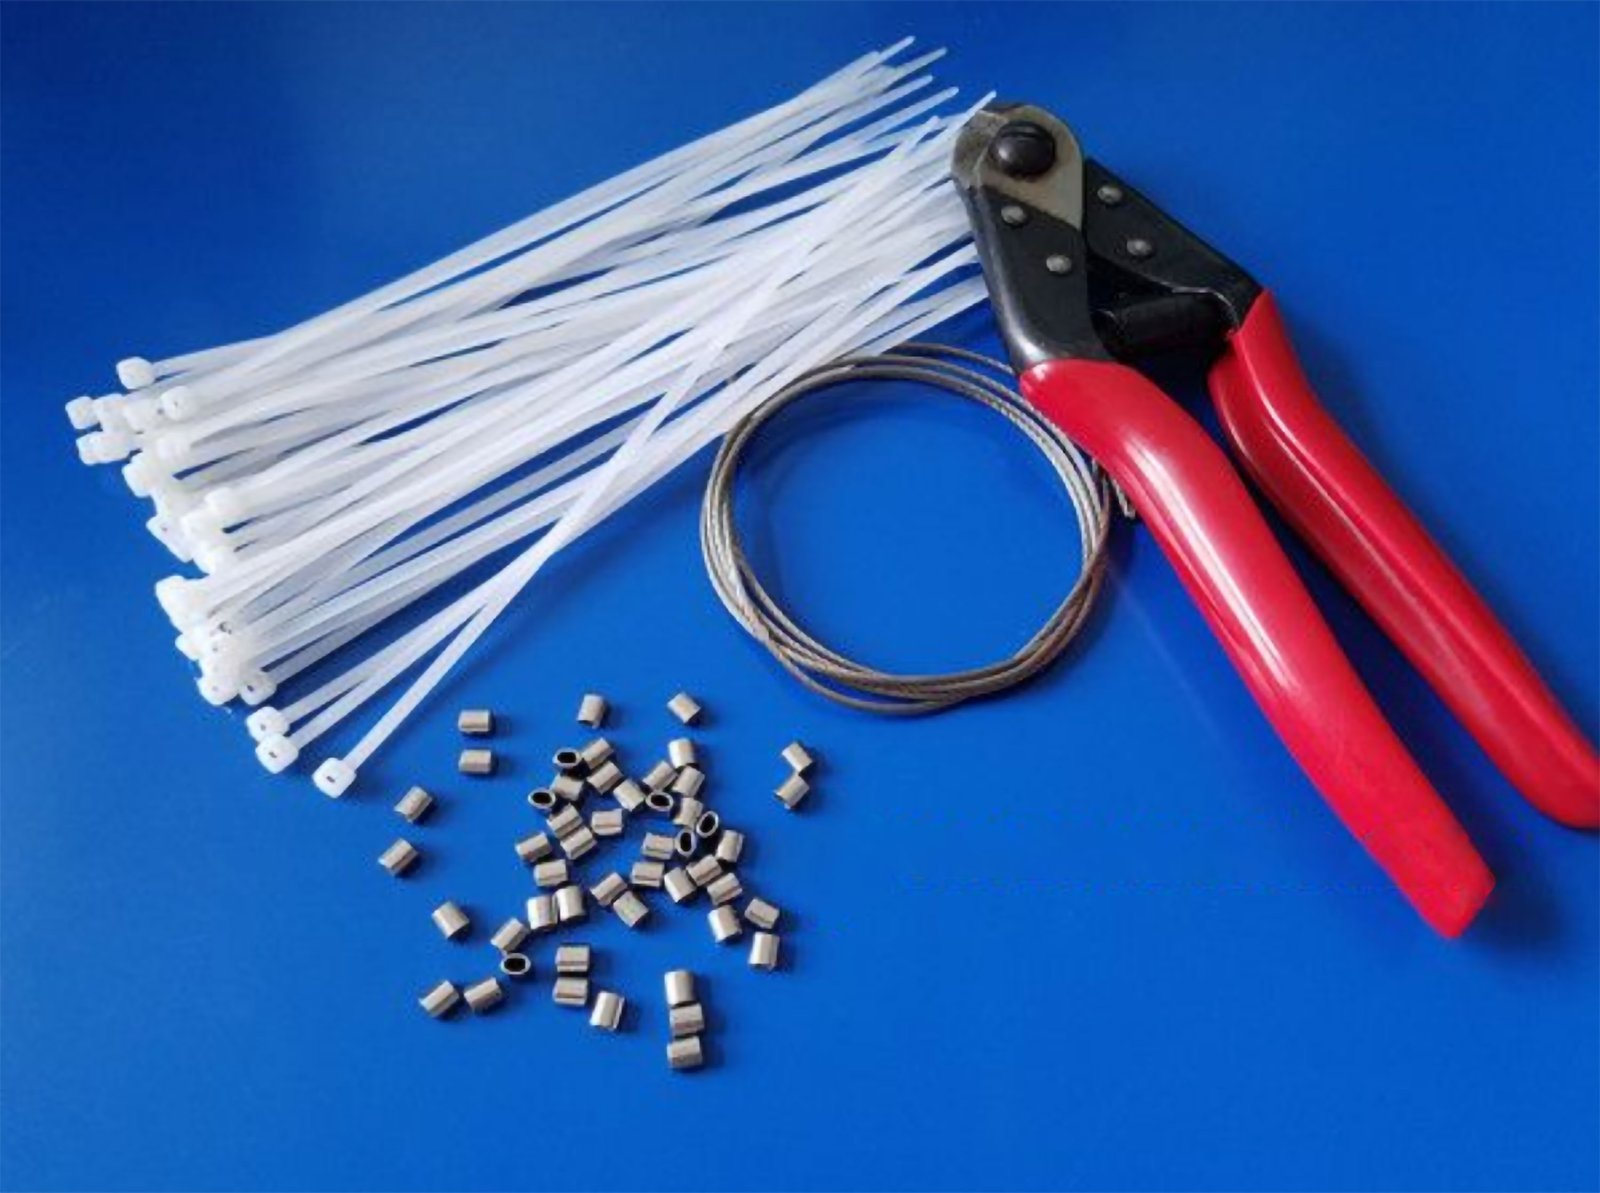
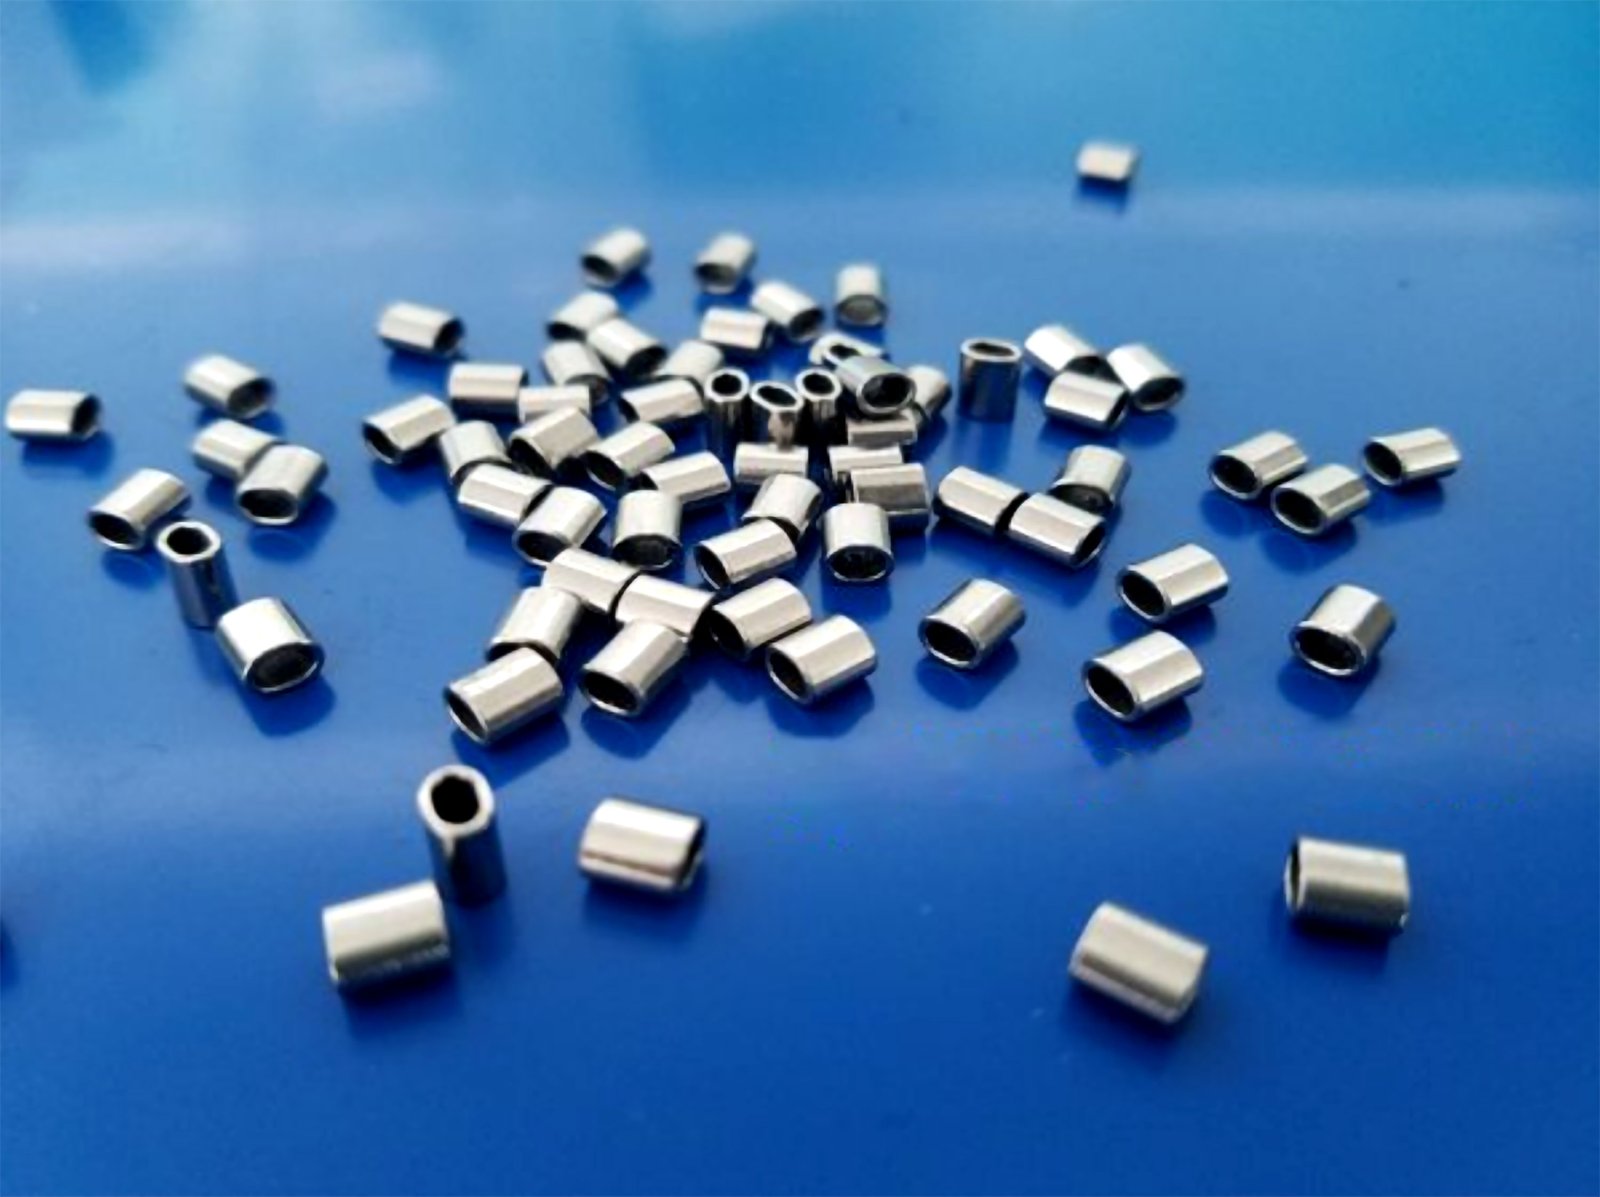
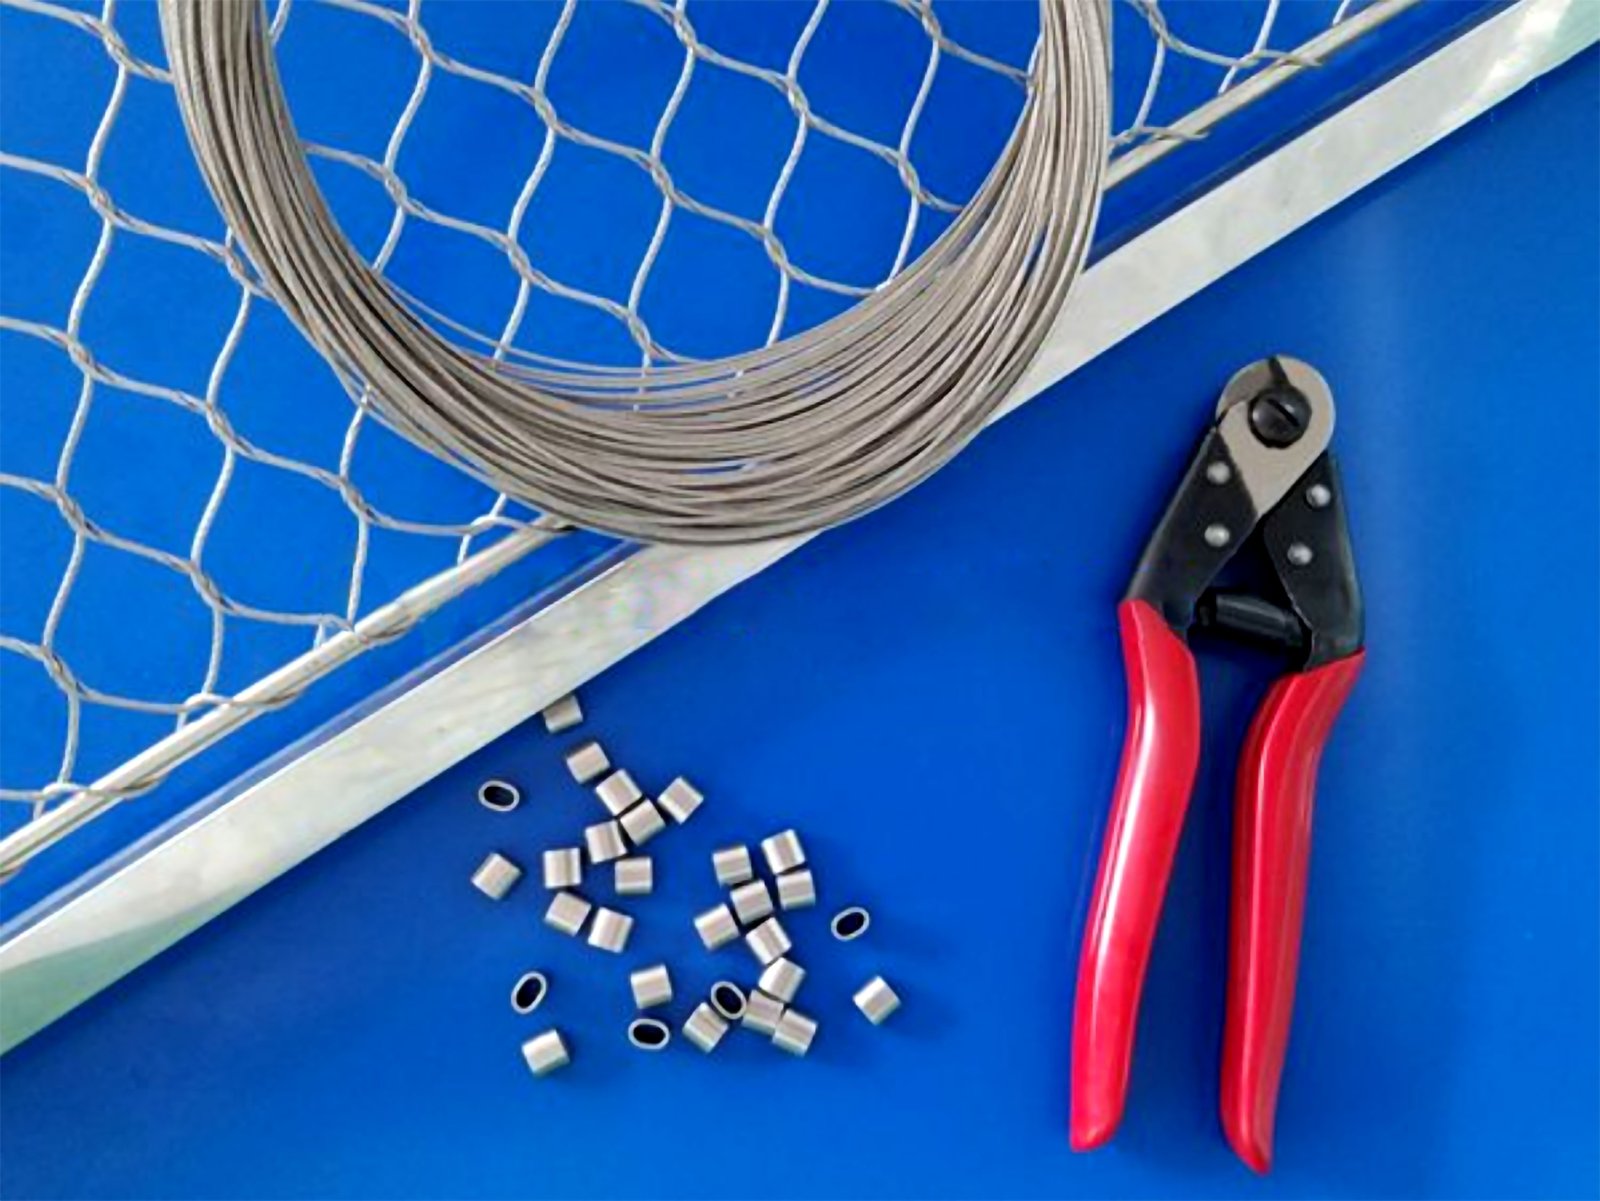
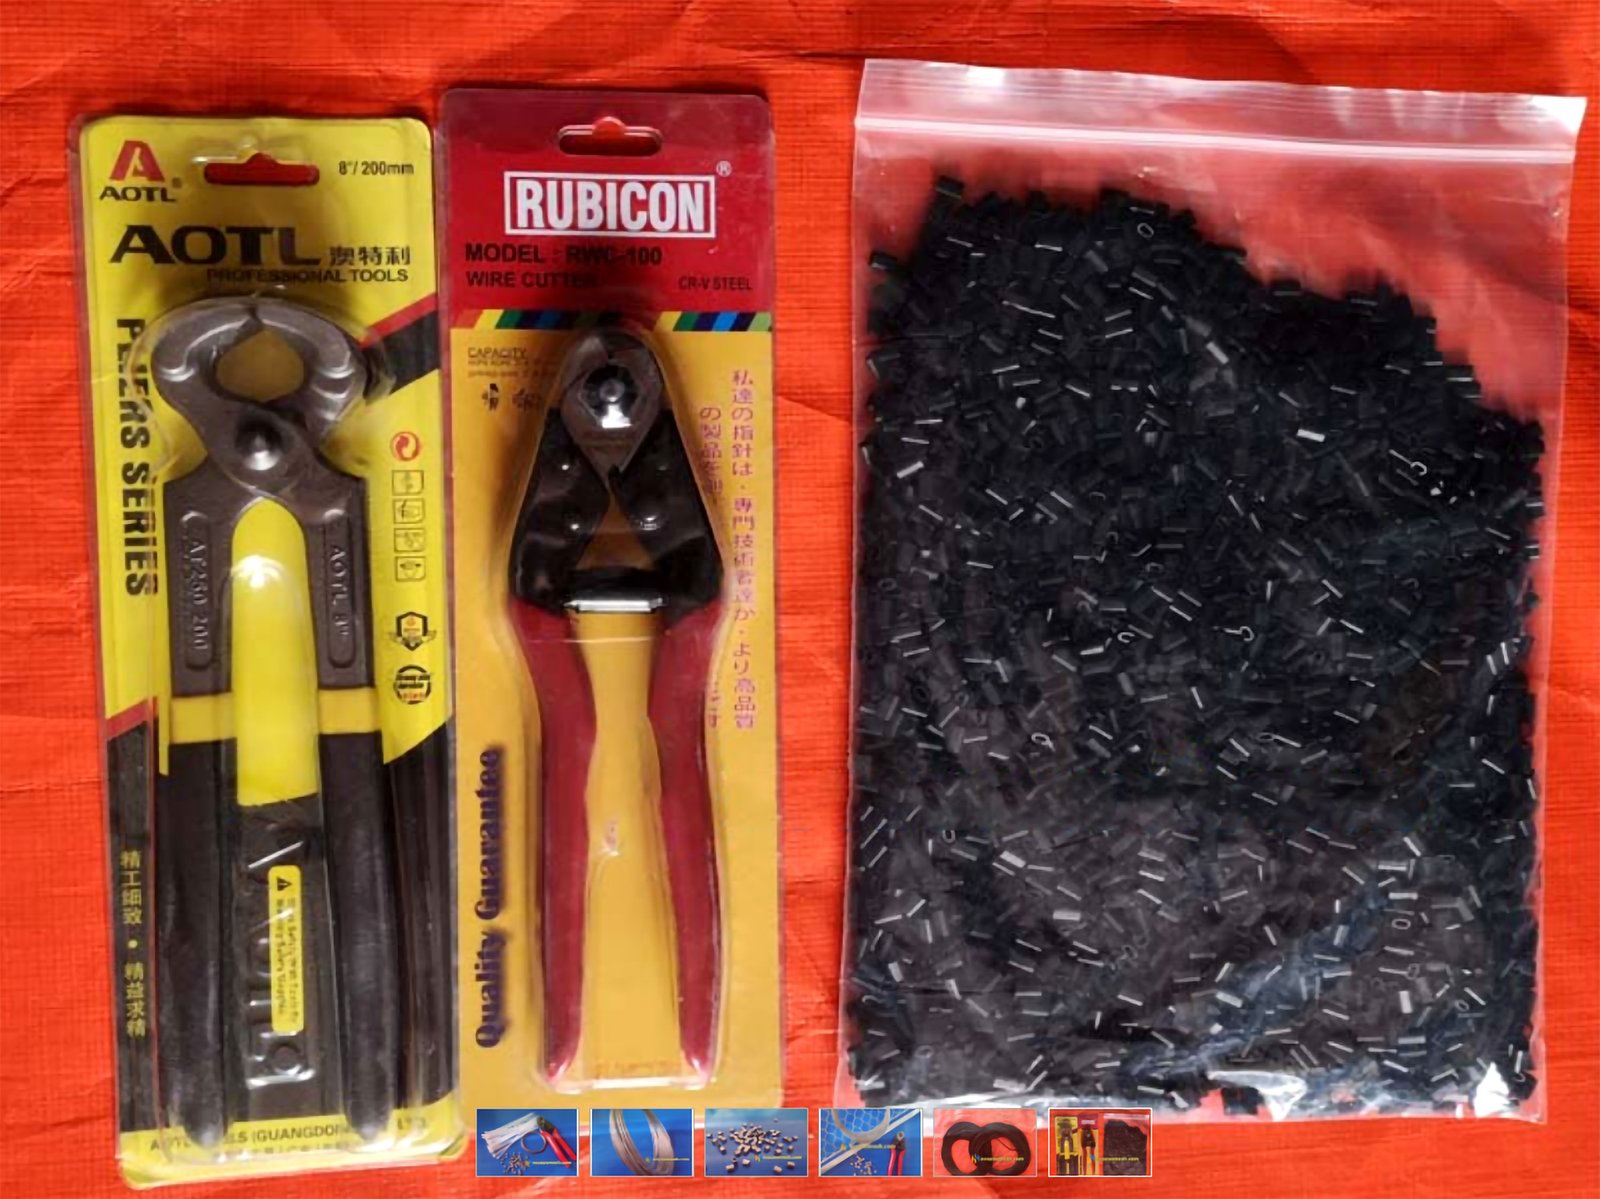
- For Installing zoo mesh: Stainless steel wire cable mesh accessories, wire ropes, سٹینلیس سٹیل کیبلز, ferrules, and wire rope spring cutters are essential. Having the right tools at hand can make the installation process smoother and more efficient.
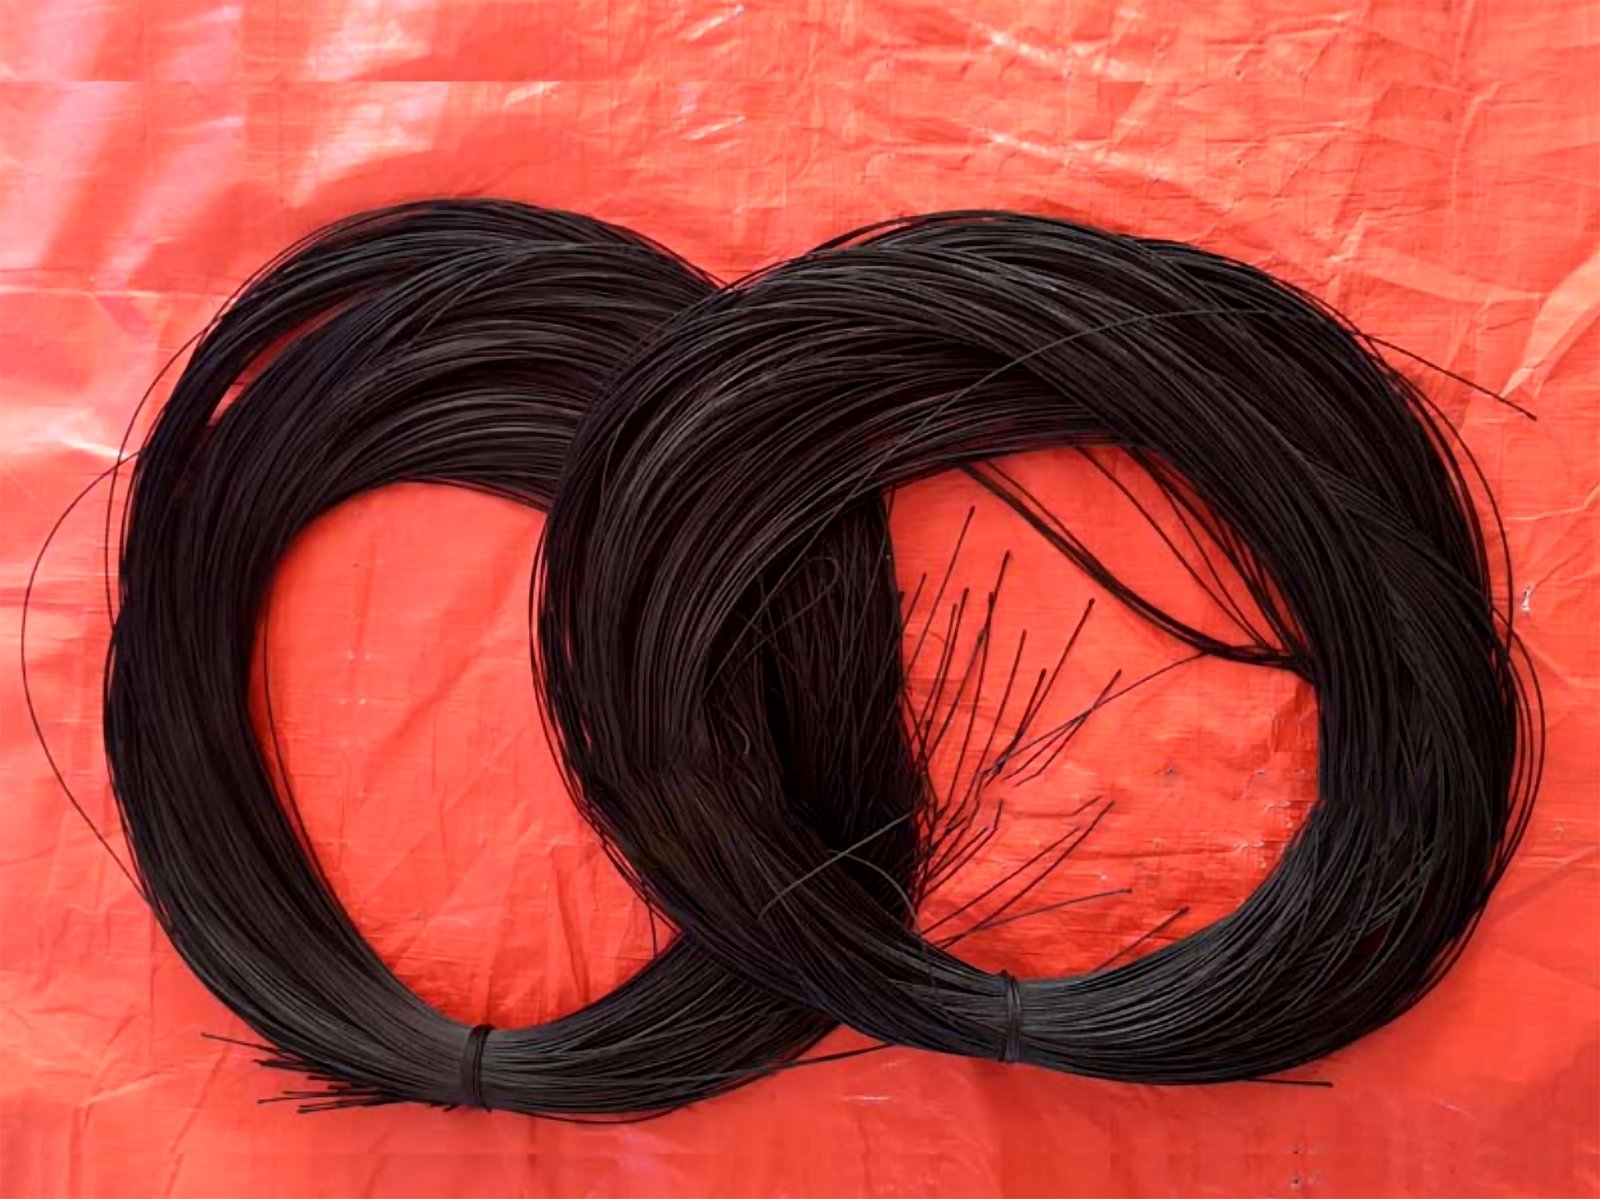
- For Aesthetic and Durability: Black oxide wire ropes and ferrules are not only functional but also add to the visual appeal of the enclosure, قدرتی یا معماری ماحول کے ساتھ بخوبی میل کھانا.
سہارا اور تکنیکی مدد
سمجھنا کہ چڑیا گھر میش لگانا پیچیدہ ہو سکتا ہے, ہم جامع تکنیکی مدد فراہم کرتے ہیں جسے 30 سالوں کی پیداوار اور تنصیب کے تجربے کی بنیاد پر دی گئی ہے. ہماری ٹیم کے پاس تفصیلی مدد فراہم کرنے کے اوزار اور معلومات موجود ہیں, آپ کی تنصیب کے ہر مرحلے میں ماہر مشورے اور عملی حل کے ساتھ رہنمائی کرنا
سب کچھ اکٹھا کرنا
چڑیا گھر میش کی تنصیب جانوروں اور زائرین دونوں کے لیے محفوظ, دلچسپ, اور جمالیاتی طور پر خوشنما ماحول پیدا کرنے میں ایک اہم عنصر ہے. اس مرحلہ وار رہنما پر عمل کرکے اور دستیاب اوزار اور لوازمات کا استعمال کرتے ہوئے, آپ پیشہ ورانہ معیار کی تنصیب حاصل کر سکتے ہیں. اور یاد رکھیں, ہماری سپورٹ ٹیم ہمیشہ آپ کی کسی بھی سوالات یا مسائل میں مدد کرنے کے لیے تیار ہے جو آپ کو راستے میں درپیش ہو سکتے ہیں.
زُو میش کی تنصیب ایک بھاری کام ہونے کی ضرورت نہیں ہے. مناسب تیاری کے ساتھ, اوزار, اور سپورٹ, آپ ایک کامیاب اور مطمئن پروجیکٹ کی تکمیل کو یقینی بنا سکتے ہیں.



 واپسی کی پالیسی
 اسٹینلیس اسٹیل کیبل کے بُنے ہوئے جالی میش بہترین انتخاب ہیں
 اسٹینلیس اسٹیل کیبل کھلا فیریل میش
 چڑیا گھر میش: چڑیا گھروں میں حفاظت اور فلاح و بہبود میں اضافہ
 چڑیا گھر میش: محفوظ اور دلچسپ جانوروں کے رہائشی علاقوں کی کلید